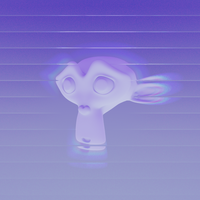
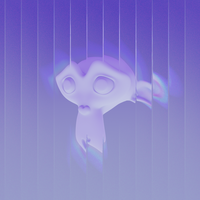
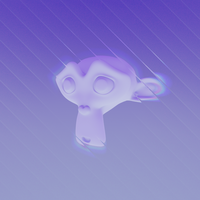
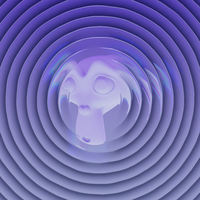
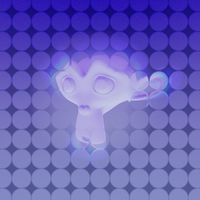
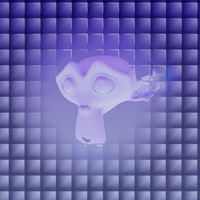
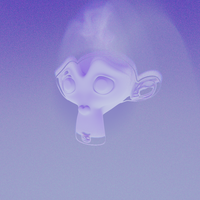
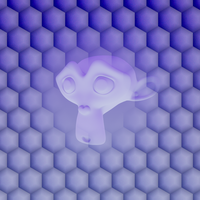
See the full detail and tuned defaults for each pattern in the manual →
✦ Glassify
The complete guide: installation, all nine glass patterns, and the full workflow, step by step.
Overview
Glassify adds a camera-space glass effect to any render — frosted bands, rain-streaked panels, beveled tiles — built as a one-click compositor node setup, not a material or shader. A real 3D Empty positioned in front of the camera controls exactly where the image stays clean and where it distorts.
5.2+
Blender version — built on the unified compositor
9
Built-in glass patterns, picked from one thumbnail grid
EEVEE / Cycles
Any render engine — 100% post-process
01 · Installation
.zip file.Edit > Preferences > Add-ons.Install from Disk and select the downloaded .zip.N, and look for the Glassify tab.Keep the downloaded filename intact before installing — a modified filename can make Blender fail silently on install.
Interface
The Glassify panel lives in the 3D Viewport's sidebar (N key). With no effect in the scene yet, it shows a single Add Glassify Effect button — click it and the full compositor setup, plus a mask Empty placed in front of the camera, is built for you in one step.
From there: a large thumbnail grid picks the pattern, with Prev/Next arrows to cycle through all nine. Mask, Displacement, and Blur stay open by default since they're the controls you'll reach for most; Pattern Detail and Sensor Noise stay collapsed until you need them.
In practice
The same scene, run through all 9 built-in patterns. Pick one from the panel's visual picker and Glassify rebuilds the compositor wiring in a single click — each pattern remembers its own tuning independently.
See the full detail and tuned defaults for each pattern in the manual →
The mask
The clean/distorted zone is driven by an actual 3D Empty, projected onto the frame through the active camera. Move it, rotate it, or grab and scale it to resize the effect — because it's a real object, it can be keyframed, so the clean zone can track a moving subject across an animation.
Two shapes are available: Circle, a soft elliptical falloff for a classic vignette look, and Rectangle, a hard-edged box with zero gradient that isolates a zone completely. Each has its own dedicated Empty, so resizing one never disturbs the other.
Troubleshooting
Make sure a camera is assigned to the scene — the mask's 3D-to-2D projection requires an active camera to work at all.
The panel shows a warning — assign any Empty object in the Empty field to recover, or use Add Glassify Effect again to rebuild it.
This shouldn't happen — every pattern holds fully independent state. See the full manual for details.
Support
To report bugs, get help with installation, or just show us what you built, reach out through our support channel.